
Installing DCM Console
To install the Intel DCM console, navigate to the directory containing the installation package, and double-click the package to launch the installation program.
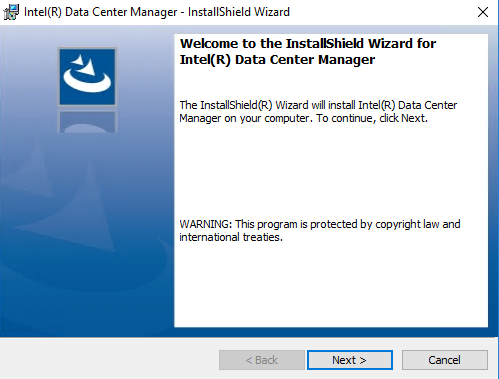
Click Next
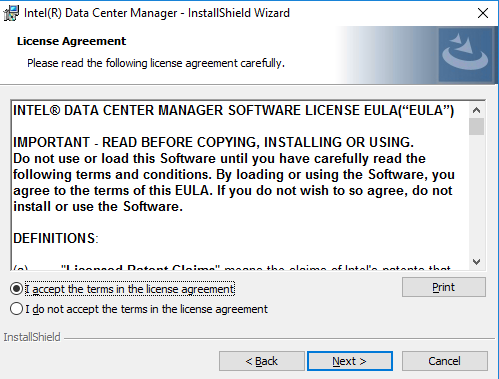
Choose "I accept the terms in the license agreement", and then click Next.
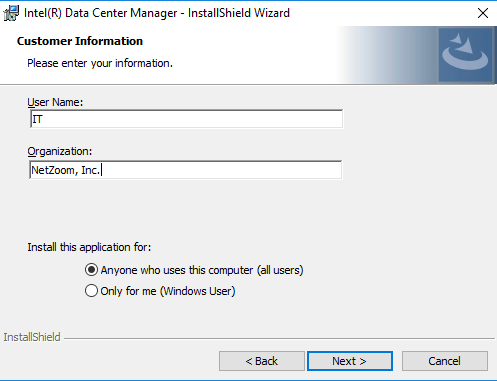
Fill in the User Name and Organization fields. Choose whether to install for all users or only the current user, and then click Next.
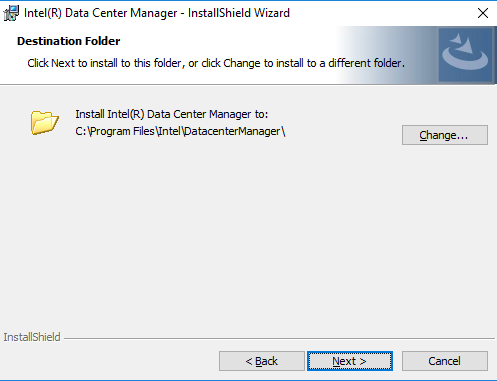
Click the Change button to change the destination folder of the installation. You can browse through the drop-down list or type the exact path in the text box. Click OK to return to the previous window, and then click Next to continue the installation once you have selected the installation path.
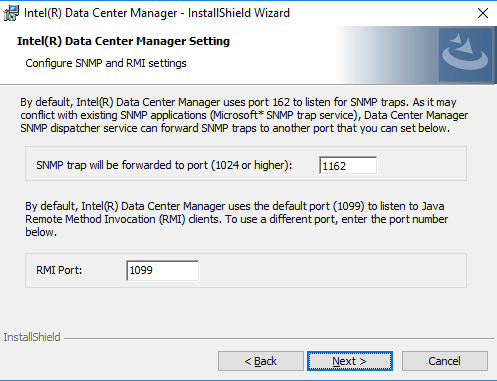
Choose the port for SNMP traps, and then click Next (recommended). If you need to change the RMI Port, click the check box first and then configure the port number on the right side.
NOTE: Generally, each port has a default value during installation and configuration. You need to make sure that other processes do not occupy the port you’re setting before you change the value.
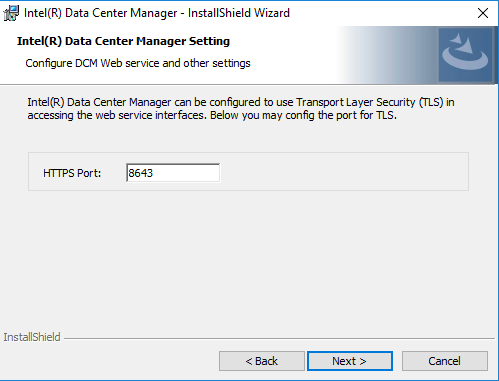
You may choose to enable TLS and configure the TLS port by clicking the check box and configuring the port number on the right side. You may also use another HTTP port number for the web service interface.
NOTE: Take note of the configured HTTP/HTTPS port as it will be used later when configuring the Intel DCM profile instance in NetZoom’s 3rd Party Integration with Intel DCM.
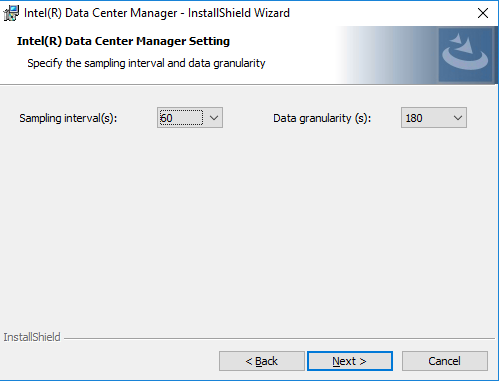
Configure the Sampling Frequency and Data Granularity settings, and then click Next.
NOTE: The Sampling Frequency is the time interval between power and thermal measurements that DCM collects from the devices managed. The default value is 60 seconds, and you need to make sure that the device supports the sampling frequency you set.
The Data Granularity is the resolution of power/thermal data measurements that are stored in DCM database for query/metric usages. Valid measurement data granularity includes 30, 60, 180, 360, 600, 1800, and 3600 seconds, and it must be a multiple of the Sampling Frequency.
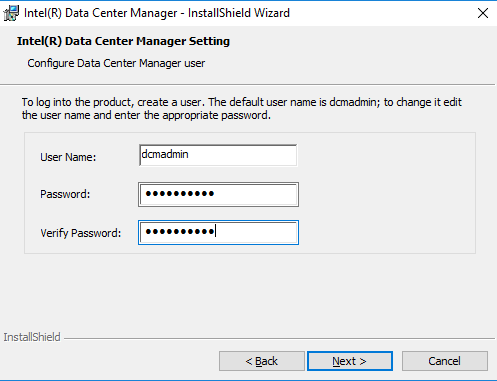
Designate user name and password for the Intel DCM console login. Click Next
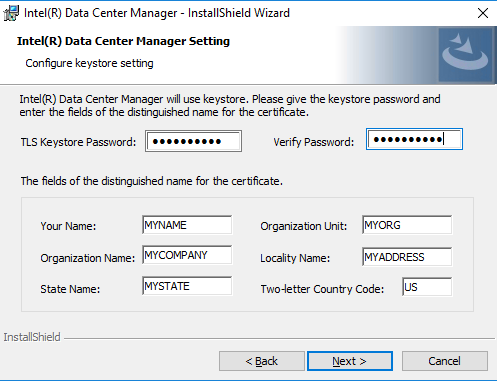
Enter TLS Keystore Password, which will be used to access the keystore file. Then, enter the corresponding information for the certificate, and click Next.
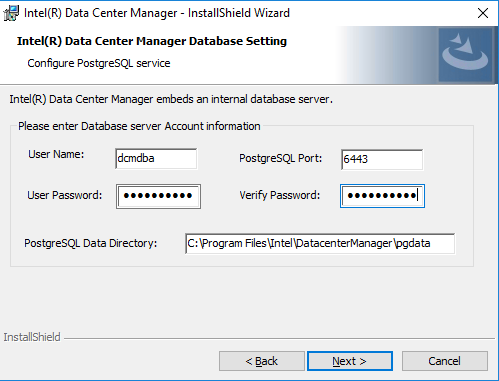
On the Configure PostgreSQL service page, complete the database settings, including User Name, PostgreSQL Port, User Password, and the directory of the database. The default value of PostgreSQL Port is 6443. If another process is already using that default port, enter a different one. Then click Next.
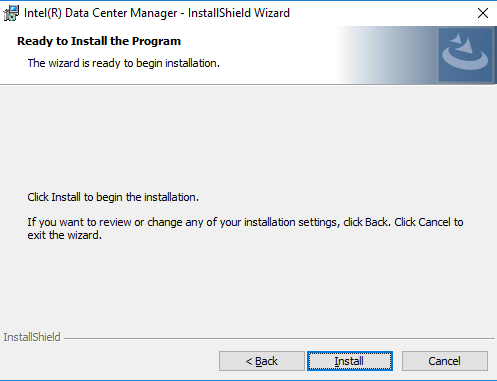
On the Ready to Install the Program page, click Back if you want to change the installation settings, or click Install to begin the installation process.
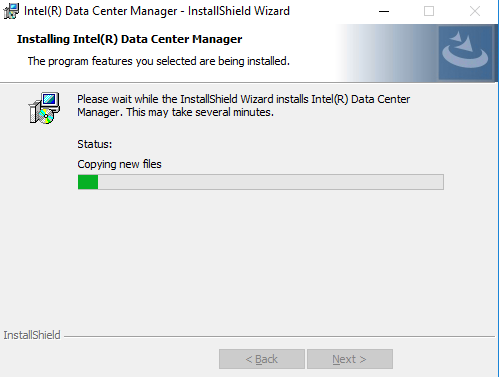
Once you click Install, you will see a status screen that notes the progress.
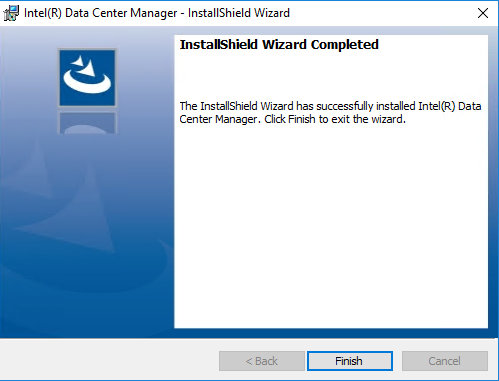
Click Finish to complete the Intel DCM setup.
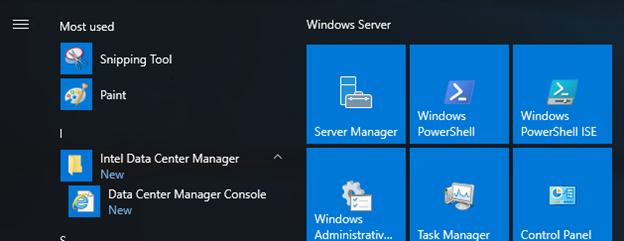
In order to start the Intel DCM console, navigate to the “Data Center Manager Console”
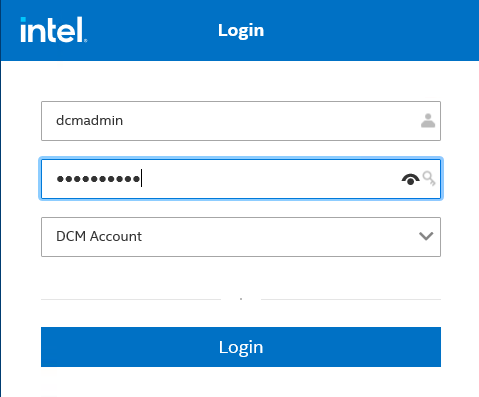
Enter user name and password created for Intel DCM Console and click “Login”
Last Updated: Thursday, March 04, 2022
NetZoom, Inc.