
Report Builder
Reports are a special case of forms. Custom report templates can be built using the Report Builder which only creates Reports. The Report Builder is very similar to the Form Builder.
Report templates are much like forms, although they typically include a header and footer and are formatted to be printed, meaning report templates are limited in how they can be manipulated once created. Reports may also be composite, or consisting of multiple forms.
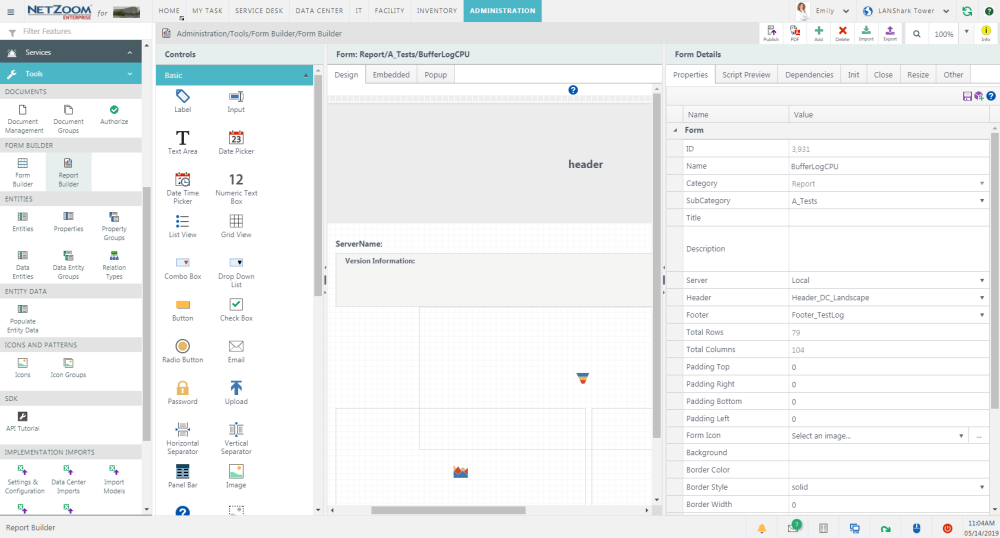
Feature Path: Administration/Tools/Report Builder/Report Builder
The Report Builder has three panes. The Controls pane offers large list of controls for adding functionality to a report. The Form Canvas pane displays the currently open report. The Form Details pane lists details, properties and scripts of the report or a selected control.
Creating a Report Template
- To create a report template, click QA: Add, or Click
 in the Form Canvas pane. The New Form window will popup.
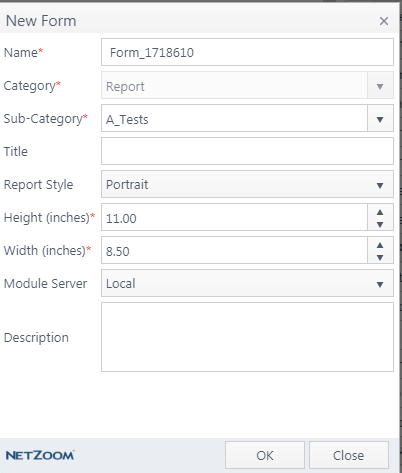
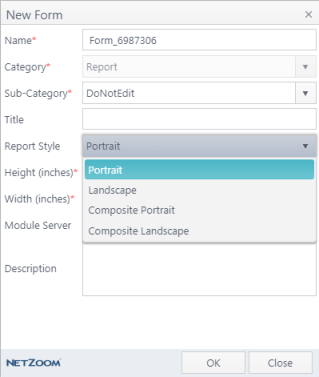
- Fill in a name for your Report form. The name must be unique. It can be alpha-numeric and contain the underscore character ‘_’.
- Choose a subcategory from the combo box. To create a new subcategory, fill in the name in the subcategory field. Reports will automatically be added to the Report category.
- Fill in the number of rows and columns your form will have in their respective fields. This determines the report template’s size.
- Choose whether your report will be landscape or portrait style in the Report Style field.
- Click the [OK] button. Your blank report template will appear in the Form Canvas page.
Note: You cannot change the width of a report after the template has been created.
Designing a Report
Designing a Report follows the same steps as Designing a Form. Review the information in [Designing a Form] section.
Creating a Header and Footer
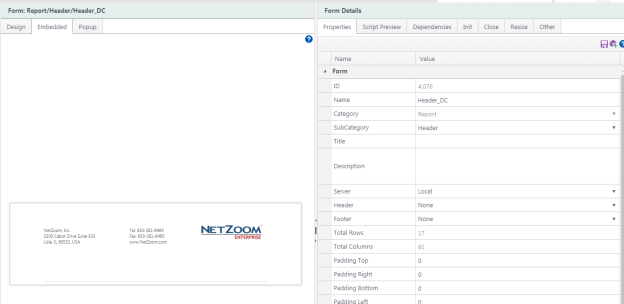
You can create a header and footer for your report template in the Report Builder itself. For example, you may want your company’s logo to appear at the top, and a page number or website at the bottom.
- To create a header or footer, create a new form, using the prefix “header” or “footer” in the name. For example, header_name1, headername2, or footername3. Your header or footer must be named this way for it to be recognized as a header or footer. It is recommended to use the Header and Footer subcategories for organizational purposes.
- The width of your header or footer must be the same as the width of your report template. The height must be less than the height of your report template.
- Create your header or footer as you would a typical report template. Your header or footer can use all the controls available in the report builder.
Adding a Header and Footer to a Report Template
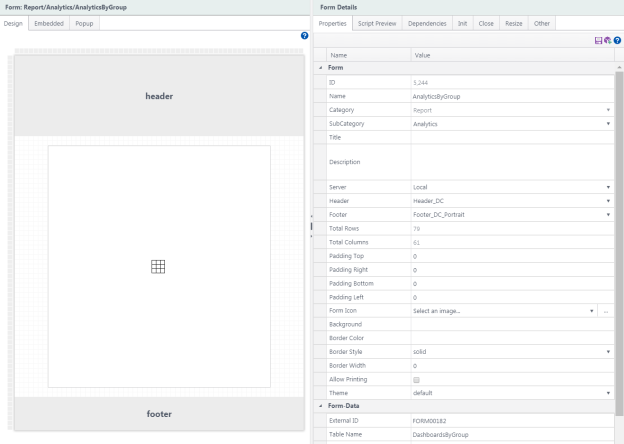
Once you have created a header and footer, you can add them to the report template using the Form Details pane. Your report template can only have one header and one footer element.
- In the Properties tab of the Form Details pane, click the header or footer combo box.
- Select the header or footer you want to add to the report from the combo box.
- Click [save icon]. The header or footer will be added to the report template.
Creating Composite Reports
Composite Reports are report templates that include multiple forms. This is useful if you want to gather data from multiple sources and present it in the same report.
- When creating a report template, choose “composite portrait” or “composite landscape” as the Report Style.
Adding Forms to a Composite Report
If the forms you add to your report template do not have a header or footer, the composite report’s header or footer will be used.
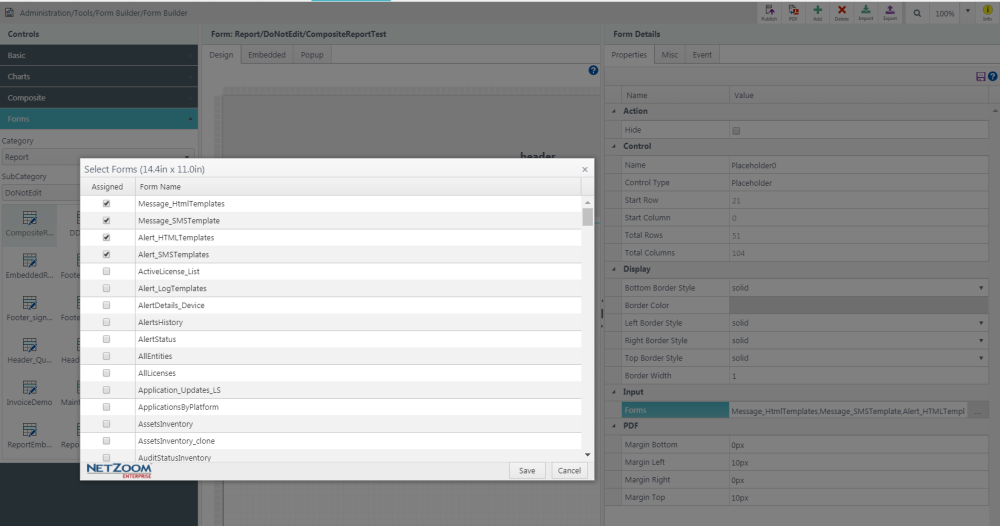
- In the Properties tab of the Form Details pane, click the […] button by the Forms field. The Select Forms window will popup.
- Check [X] the box next to the forms you want to add to the report.
- Click [Save] to add the forms.
Last Updated: Thursday, August 26, 2021
NetZoom, Inc.