
Installing the NetZoom Add-in for Office
The following section will detail how to add the NetZoom Add-in to your Microsoft Office application. Before you add NetZoom Add-in, you must have access to a working instance (On Premises or in Cloud) of NetZoom Enterprise.
On Windows, the NetZoom Add-in for Office is deployed by publishing (sideloading) the NetZoom manifest file to a network share folder manually, this method is also known as a sideload method.
Sideloading the NetZoom Add-in for Office
Follow these Steps to download and sideload the NetZoom manifest file and properly configure it to work with supported Office applications.
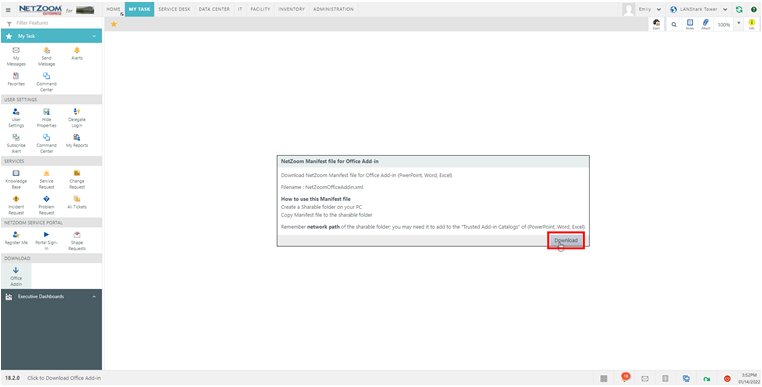
1. Download the Manifest File
First, you must get the NetZoom manifest file. Log in to NetZoom Enterprise using your web browser and navigate to the Office Add-in feature and download the “NetZoomOfficeAddin.XML” file. Feature Path: My Task/My Task/Download/Office Add-in
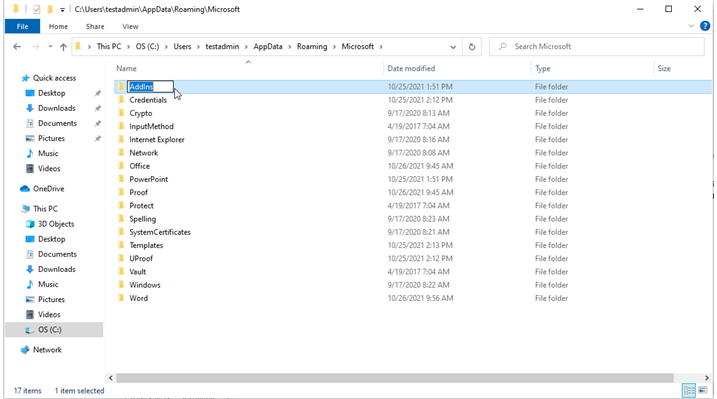
2. Create a subfolder
Now that you have manifest file on your computer, create a suitable subfolder (network share folder) somewhere on your computer to store the file. This subfolder will need to be sharable. Navigate to a suitable location on your workstation (example: C:\Users\<user>\AppData\Roaming\Microsoft) and create your subfolder.
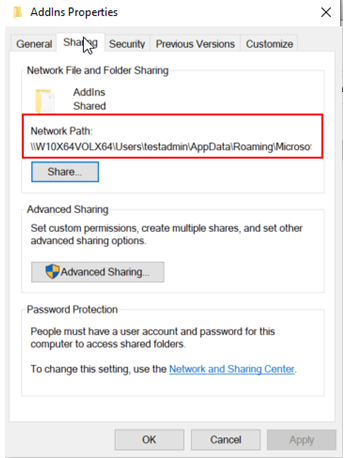
3. Make Your Subfolder a network share folder
Right-click on the subfolder you just created and select “Properties.” The Folder Properties form will pop up. Navigate to the Sharing tab and, if your Folder is not already shared, click the [SHARE] button. The Network Access form will pop up. Click the [SHARE] button on this form, and your folder will be marked as “shared.” If you navigate back to the Folder Properties form, you will notice the Network Path. This is your network share folder; copy this path, as it will be required in next steps.
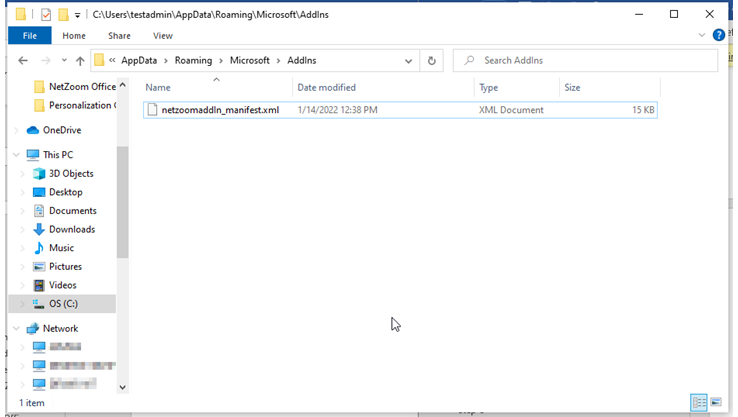
4. Copy the Manifest File to the network share folder
Now that you have created a network share folder and it is sharable, copy your manifest file into the folder.
5. Add the network share folder (Network path) to the Trusted Add-in Catalogs
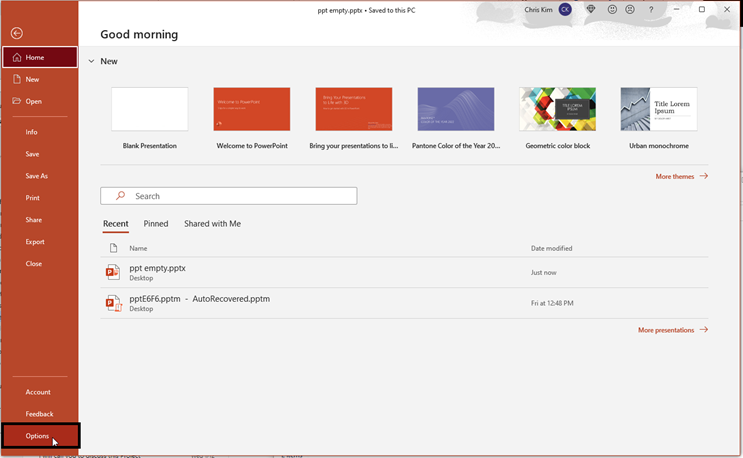
In this example: Open Microsoft PowerPoint; select Home menu, click [OPTIONS]
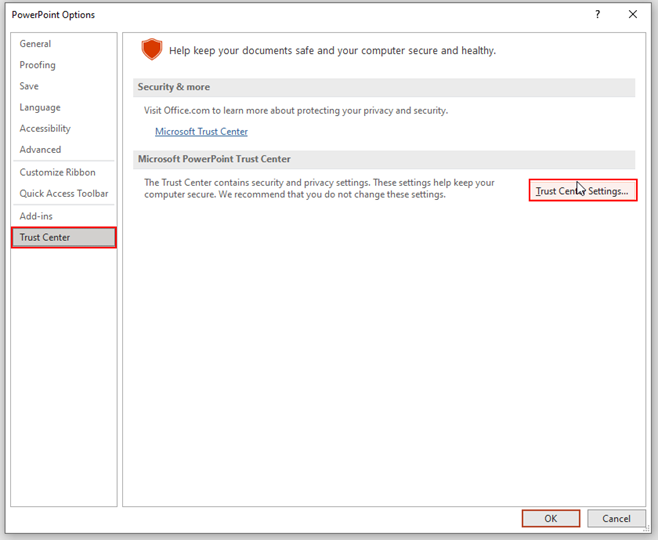
Select the Trust Center tab in the left side Tabs of the PowerPoint Options, then click the [TRUST CENTER SETTINGS] button.
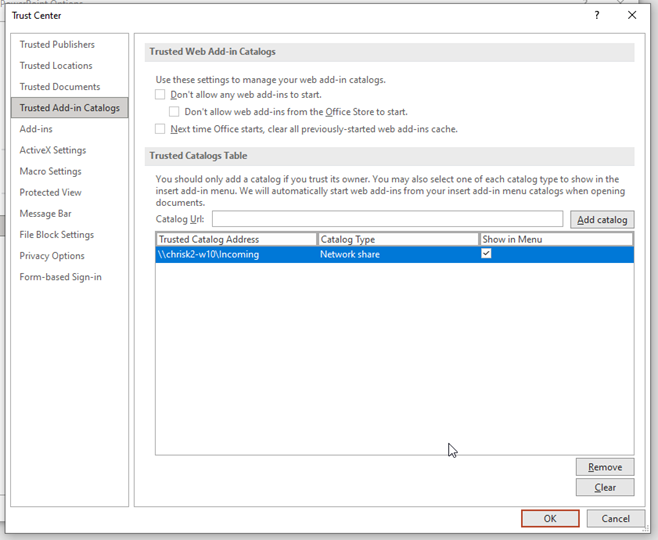
The Trust Center form will pop up. Select the Trusted Add-in Catalogs tab in the left ribbon.
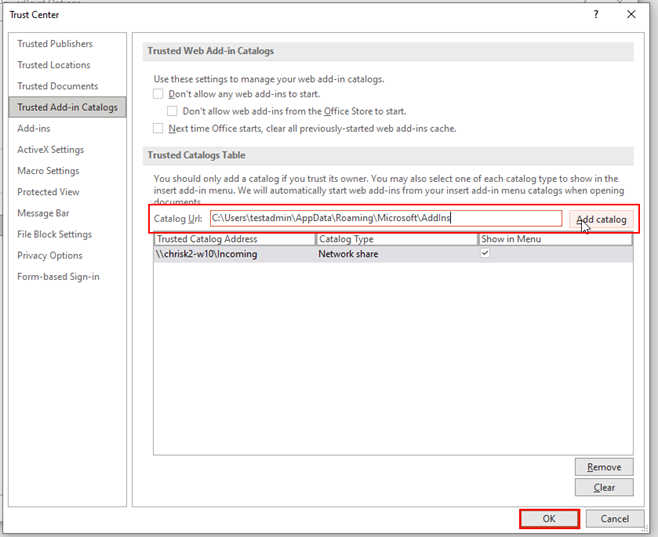
Enter your network share folder (network path) (from Step 3) in the Catalog URL field, and then click the [ADD CATALOG] button on the right side of control. When you are finished adding your catalog URL, be sure to check [X] the Show In Menu option in the trusted catalog address table.
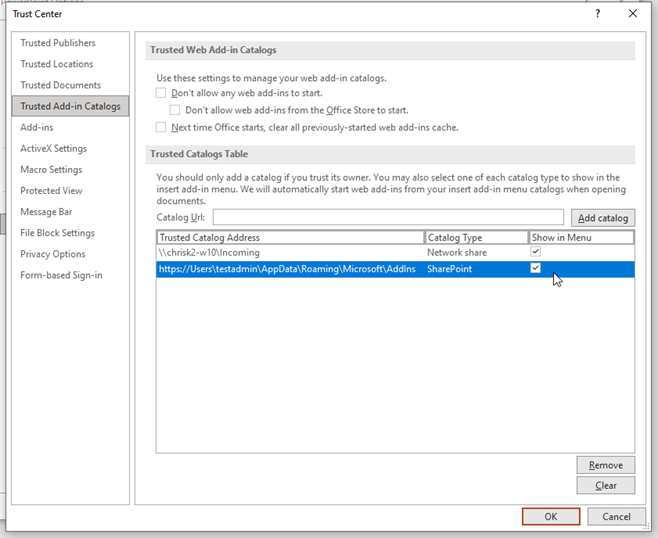
Click the OK button to save your settings, and then exit the PowerPoint application.
Last Updated: January 24, 2022
NetZoom, Inc.